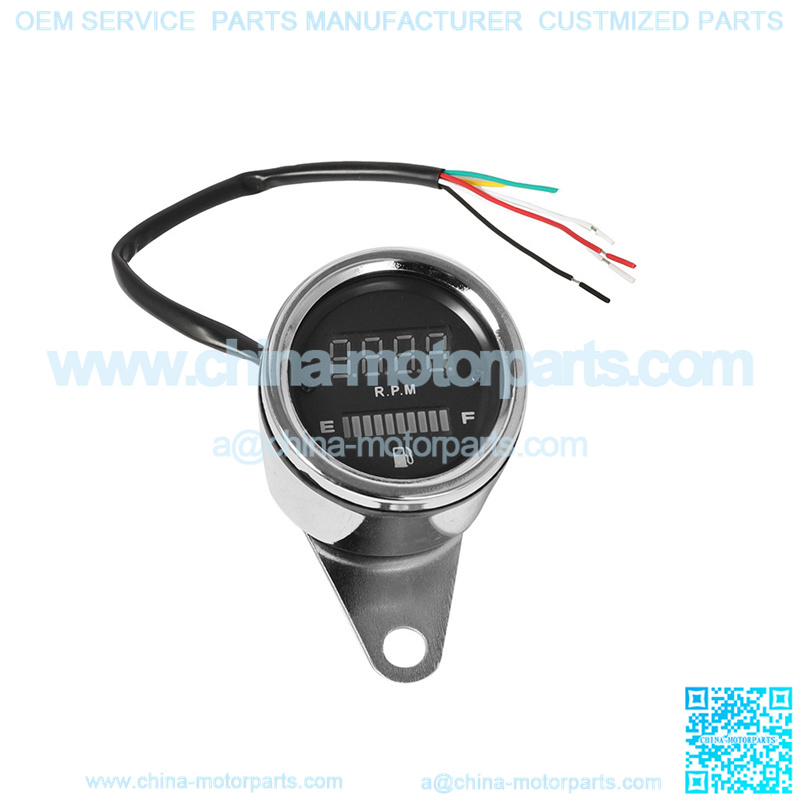
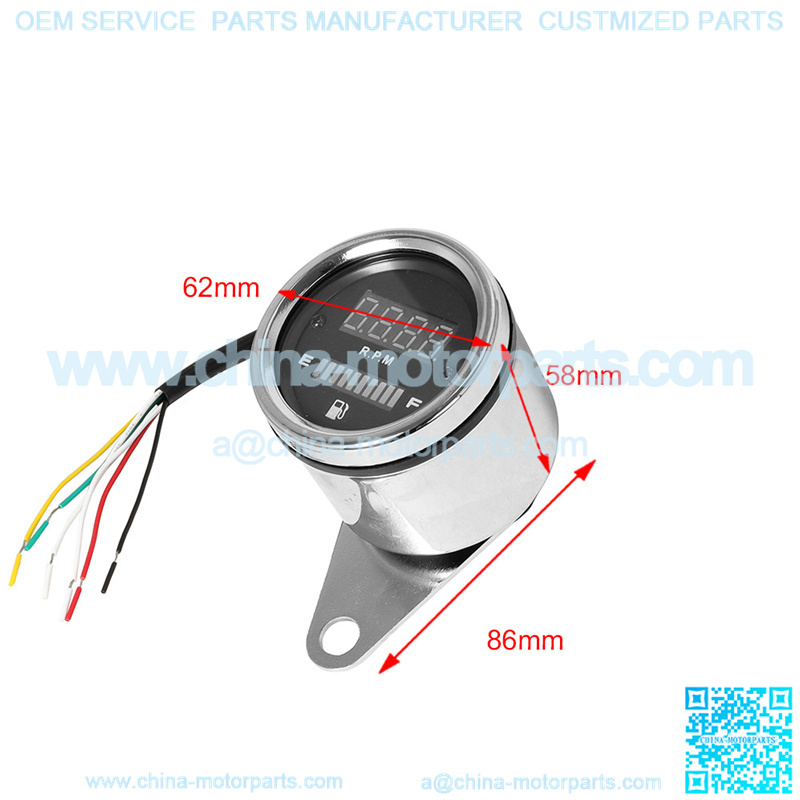
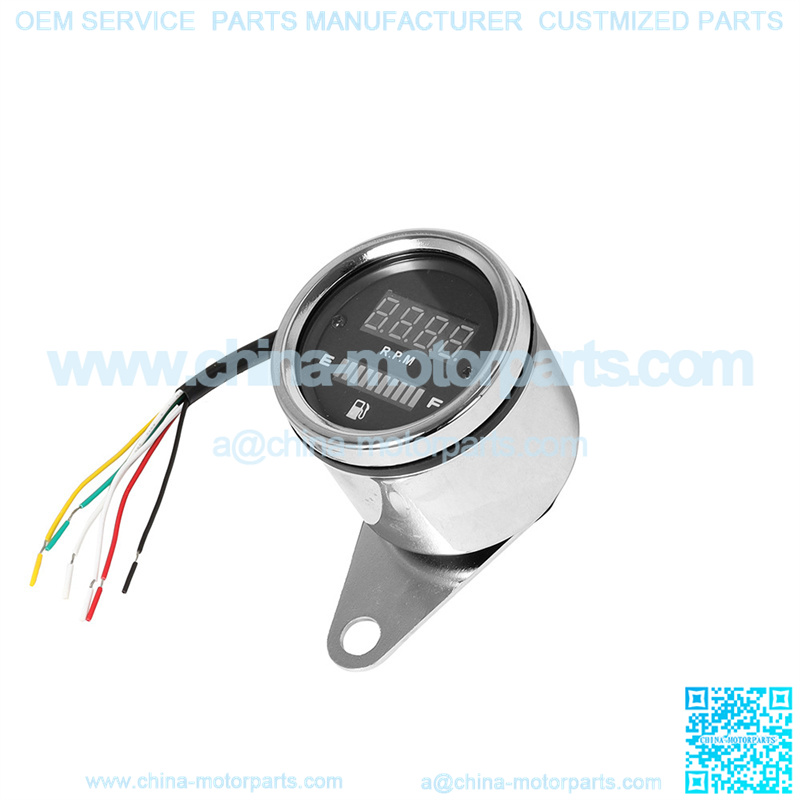
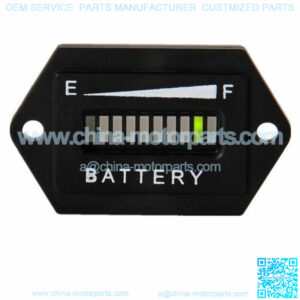
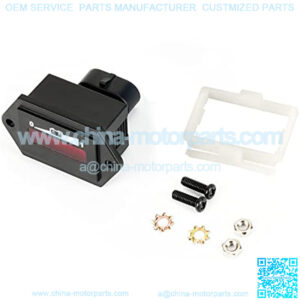
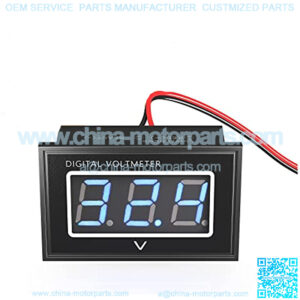
Motorcycle modified tachometer tachometer digital universal electronic meter tachometer with oil gauge
Product categories
- ATV Accessories (35)
- ATV Air&Oil Filters (22)
- ATV Axles (274)
- ATV Ball Joint (2)
- ATV Bearings (45)
- ATV Body (4)
- ATV Brake (1)
- ATV Brakes (15)
- ATV Bushing (1)
- ATV Cable (13)
- ATV Carburetor (7)
- ATV Cargo Bag/Luggage (23)
- ATV Chain (5)
- ATV Clutch Accessories (1)
- ATV Covers (29)
- ATV Drive Belt (25)
- ATV Drive Clutch (1)
- ATV Fan (1)
- ATV Fender (5)
- ATV Foot Controls (2)
- ATV Fuel Pump (15)
- ATV Fuel Tanks (4)
- ATV Gasket (1)
- ATV Handguard (3)
- ATV Handlebars (2)
- ATV Ignition Coil (50)
- ATV Lighting (15)
- ATV Mirrors (54)
- ATV Parts (2685)
- ATV Seats & Covers (18)
- ATV Solenoid (6)
- ATV Starter (25)
- ATV Suspension (17)
- ATV Switch (3)
- ATV Tach/Hour Meter (10)
- ATV Tools (32)
- ATV Winches & Mounts (91)
- ATV Windshields (16)
- Clutch Accessories (356)
- Clutch Kit (449)
- Drive Clutch (213)
- Driven Clutch (793)
- Go Kart Parts (1465)
- Golf Cart Parts (2997)
- Lawn Mower Parts (3050)
- Minibike Parts (2238)
- Motorcycle Parts (2992)
- Scooter Parts (527)
- Wheels and Tires and rim (23)
Product tags
Motorcycle modified tachometer tachometer digital universal electronic meter tachometer with oil gauge
Motorcycle modified tachometer tachometer digital universal electronic meter tachometer with oil gauge
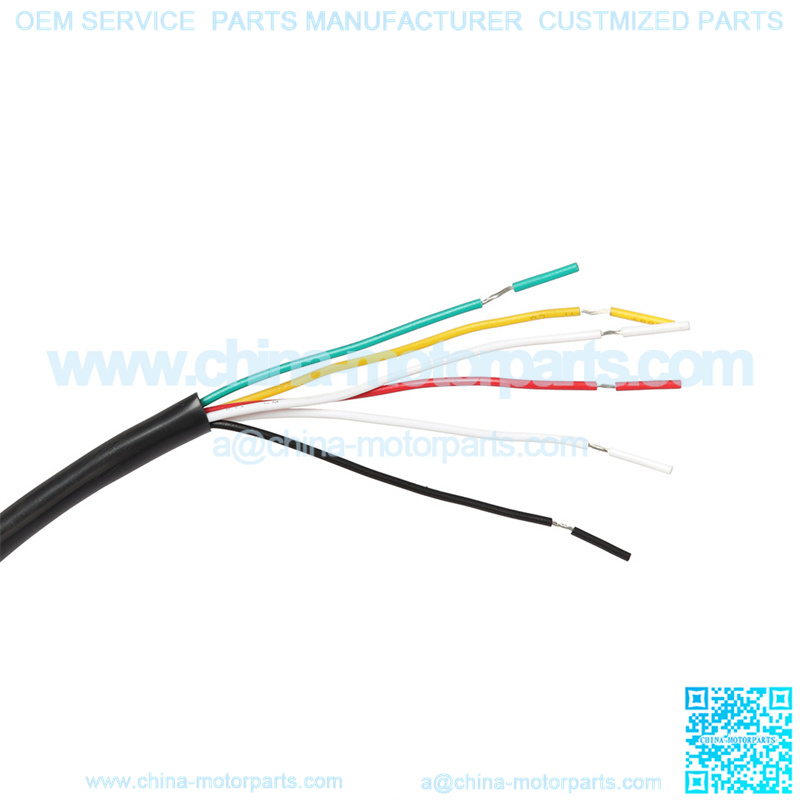
Processing and customization No. Item No. F-555 Specification Oil Gauge + Speed Electroplating Product Type Instrument Type: Tachometer Oil Gauge Color: Silver Material: Aluminum Alloy Package Size: About 9??9??9 cm Size: About 93??70??61 mm Weight: 0.26kg Working voltage: DC12V Indicator light: blue LED (speed)/red LED (oil) How to install and debug the tachometer: 1. Connect the positive and negative poles for normal power supply. 2. Turn on the electric door switch, the tachometer will display 0, then let the signal wire touch the positive pole of the power supply. If the digital display changes, it works fine. 3. Connect the signal cable, start the car, then it can display the speed. The installation and debugging method of the fuel gauge: 1. Connect the positive and negative poles for normal power supply. 2. Turn on the electric door switch, the fuel gauge will display red, and then connect the signal wire to the grid of the negative pole. Wait for a while, the LED lights will all light up slowly, indicating normal operation. 3. Connect the signal line, (please note: the original fuel gauge can not be used at the same time), fill up, and slowly adjust the potentiometer so that all LED lights are on. When the oil runs out, trim the potentiometer so that only one red LED is on. Then, it works fine
Contact Us
Related products
-
Golf Cart Parts
Golf Cart 36 Volt State of Charge Meter with Green LED
-
Golf Cart Parts
Club Car Ammeter – GE Charger 2000-Up
